

Spatchcocked Baked Chicken Recipe with Rice & Gravy
There's nothing quite like a homemade baked chicken. It's a budget-friendly classic for a reason — the flavor, the smell filling up your whole house. The only downside? The wait. This easy hack speeds that up big time, and I'm walking you through exactly how I make the most flavorful baked chicken in my house, gravy and all.
My kids call the gravy that comes out of this "white gravy." No, it's not milk gravy — we're a Cajun, dark-roux-gravy kind of family, so anything that isn't deep brown gets called white around here, lol. But don't let the color fool you. What this gravy lacks in color, it more than makes up for in flavor.
Let's Spatchcock That Bird
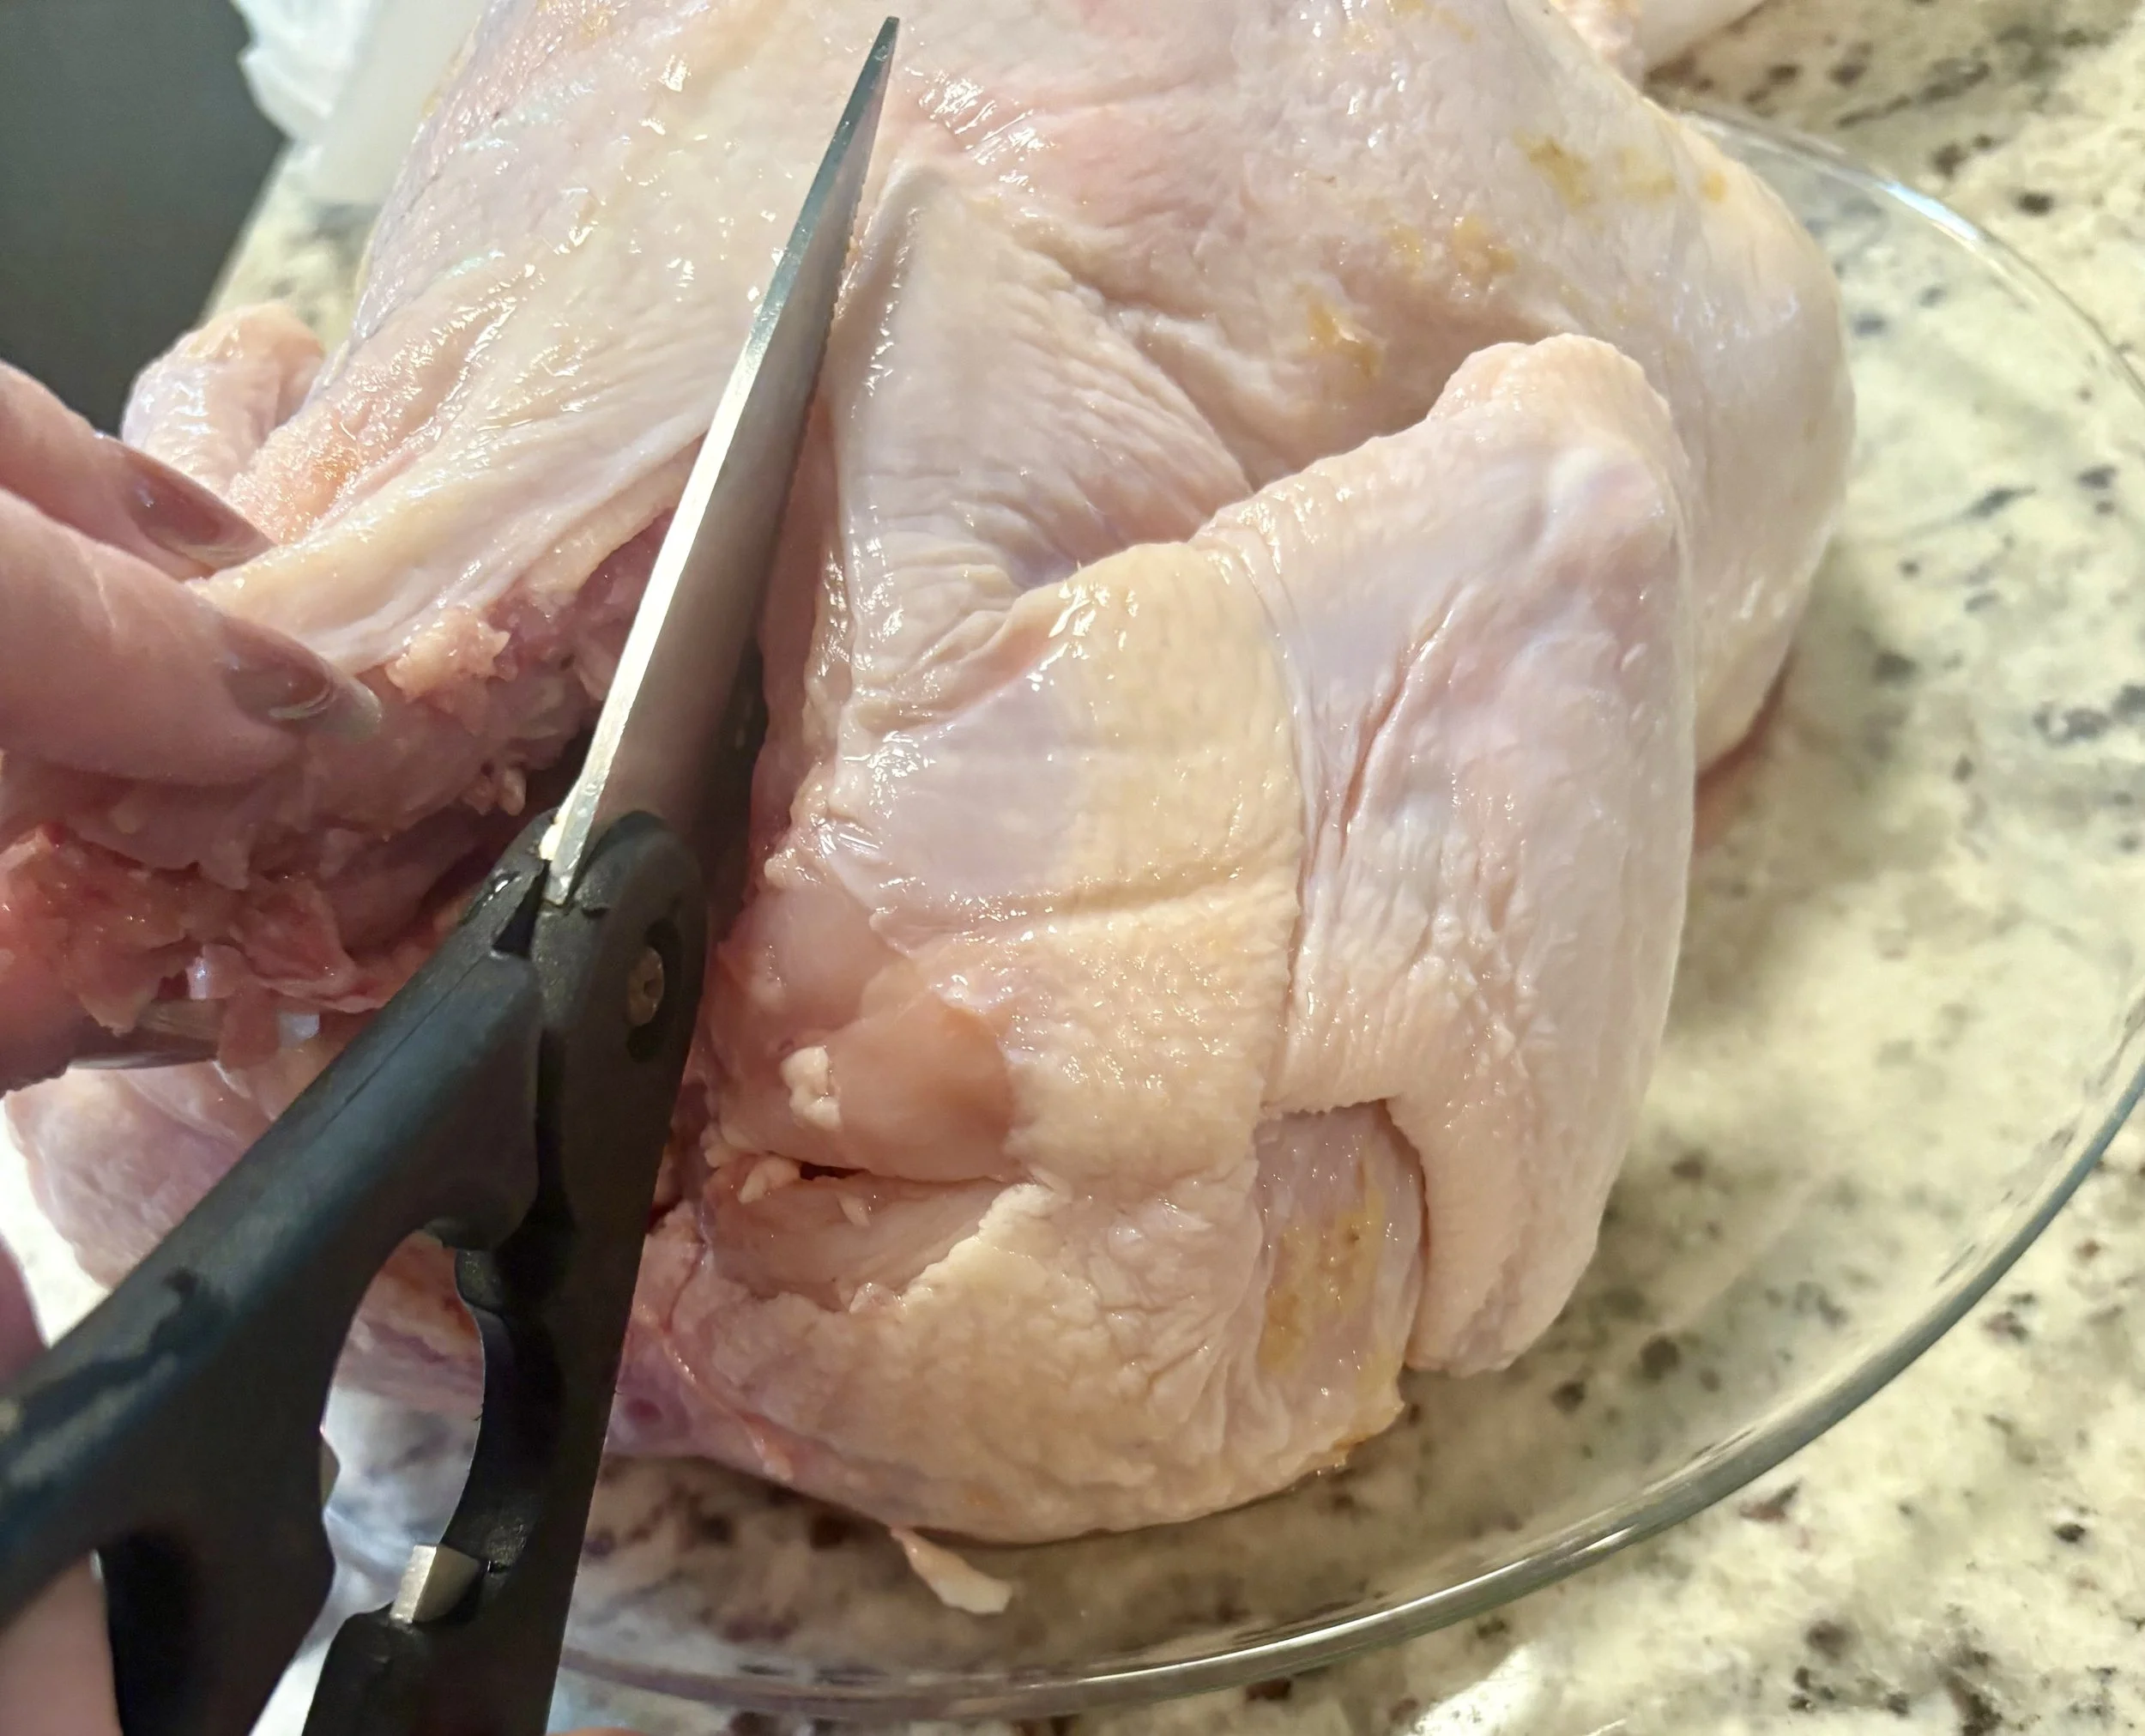
While your oven preheats, go ahead and spatchcock your chicken with your best kitchen shears— it just means cutting out the backbone so the bird lays flat, which cuts your cook time down and helps everything cook more evenly. I used about a 5 lb chicken at 425°F, but adjust your time and temp based on the size of your bird.
Butter Compote: The Flavor Secret
Once your chicken is spatchcocked, pat it dry and get ready to season. You've got options here — a simple drizzle of olive oil or melted butter over the top works just fine. But if you want to take it up a notch, this is my favorite part: a quick butter compote.
Grab a few tablespoons of regular butter in a bowl and mix in whatever seasonings and herbs sound good to you — lemon garlic, chipotle, rosemary and thyme, or any flavor profile your family loves. Once it's mixed, gently make a little pocket under the chicken skin and use a teaspoon to tuck that butter mixture underneath. As the chicken bakes, it melts right into the meat, packing in flavor and keeping everything from drying out.
This step is totally optional — if you're short on time, just season both sides of the chicken thoroughly with a little oil or butter on top and call it good.
Time to Bake
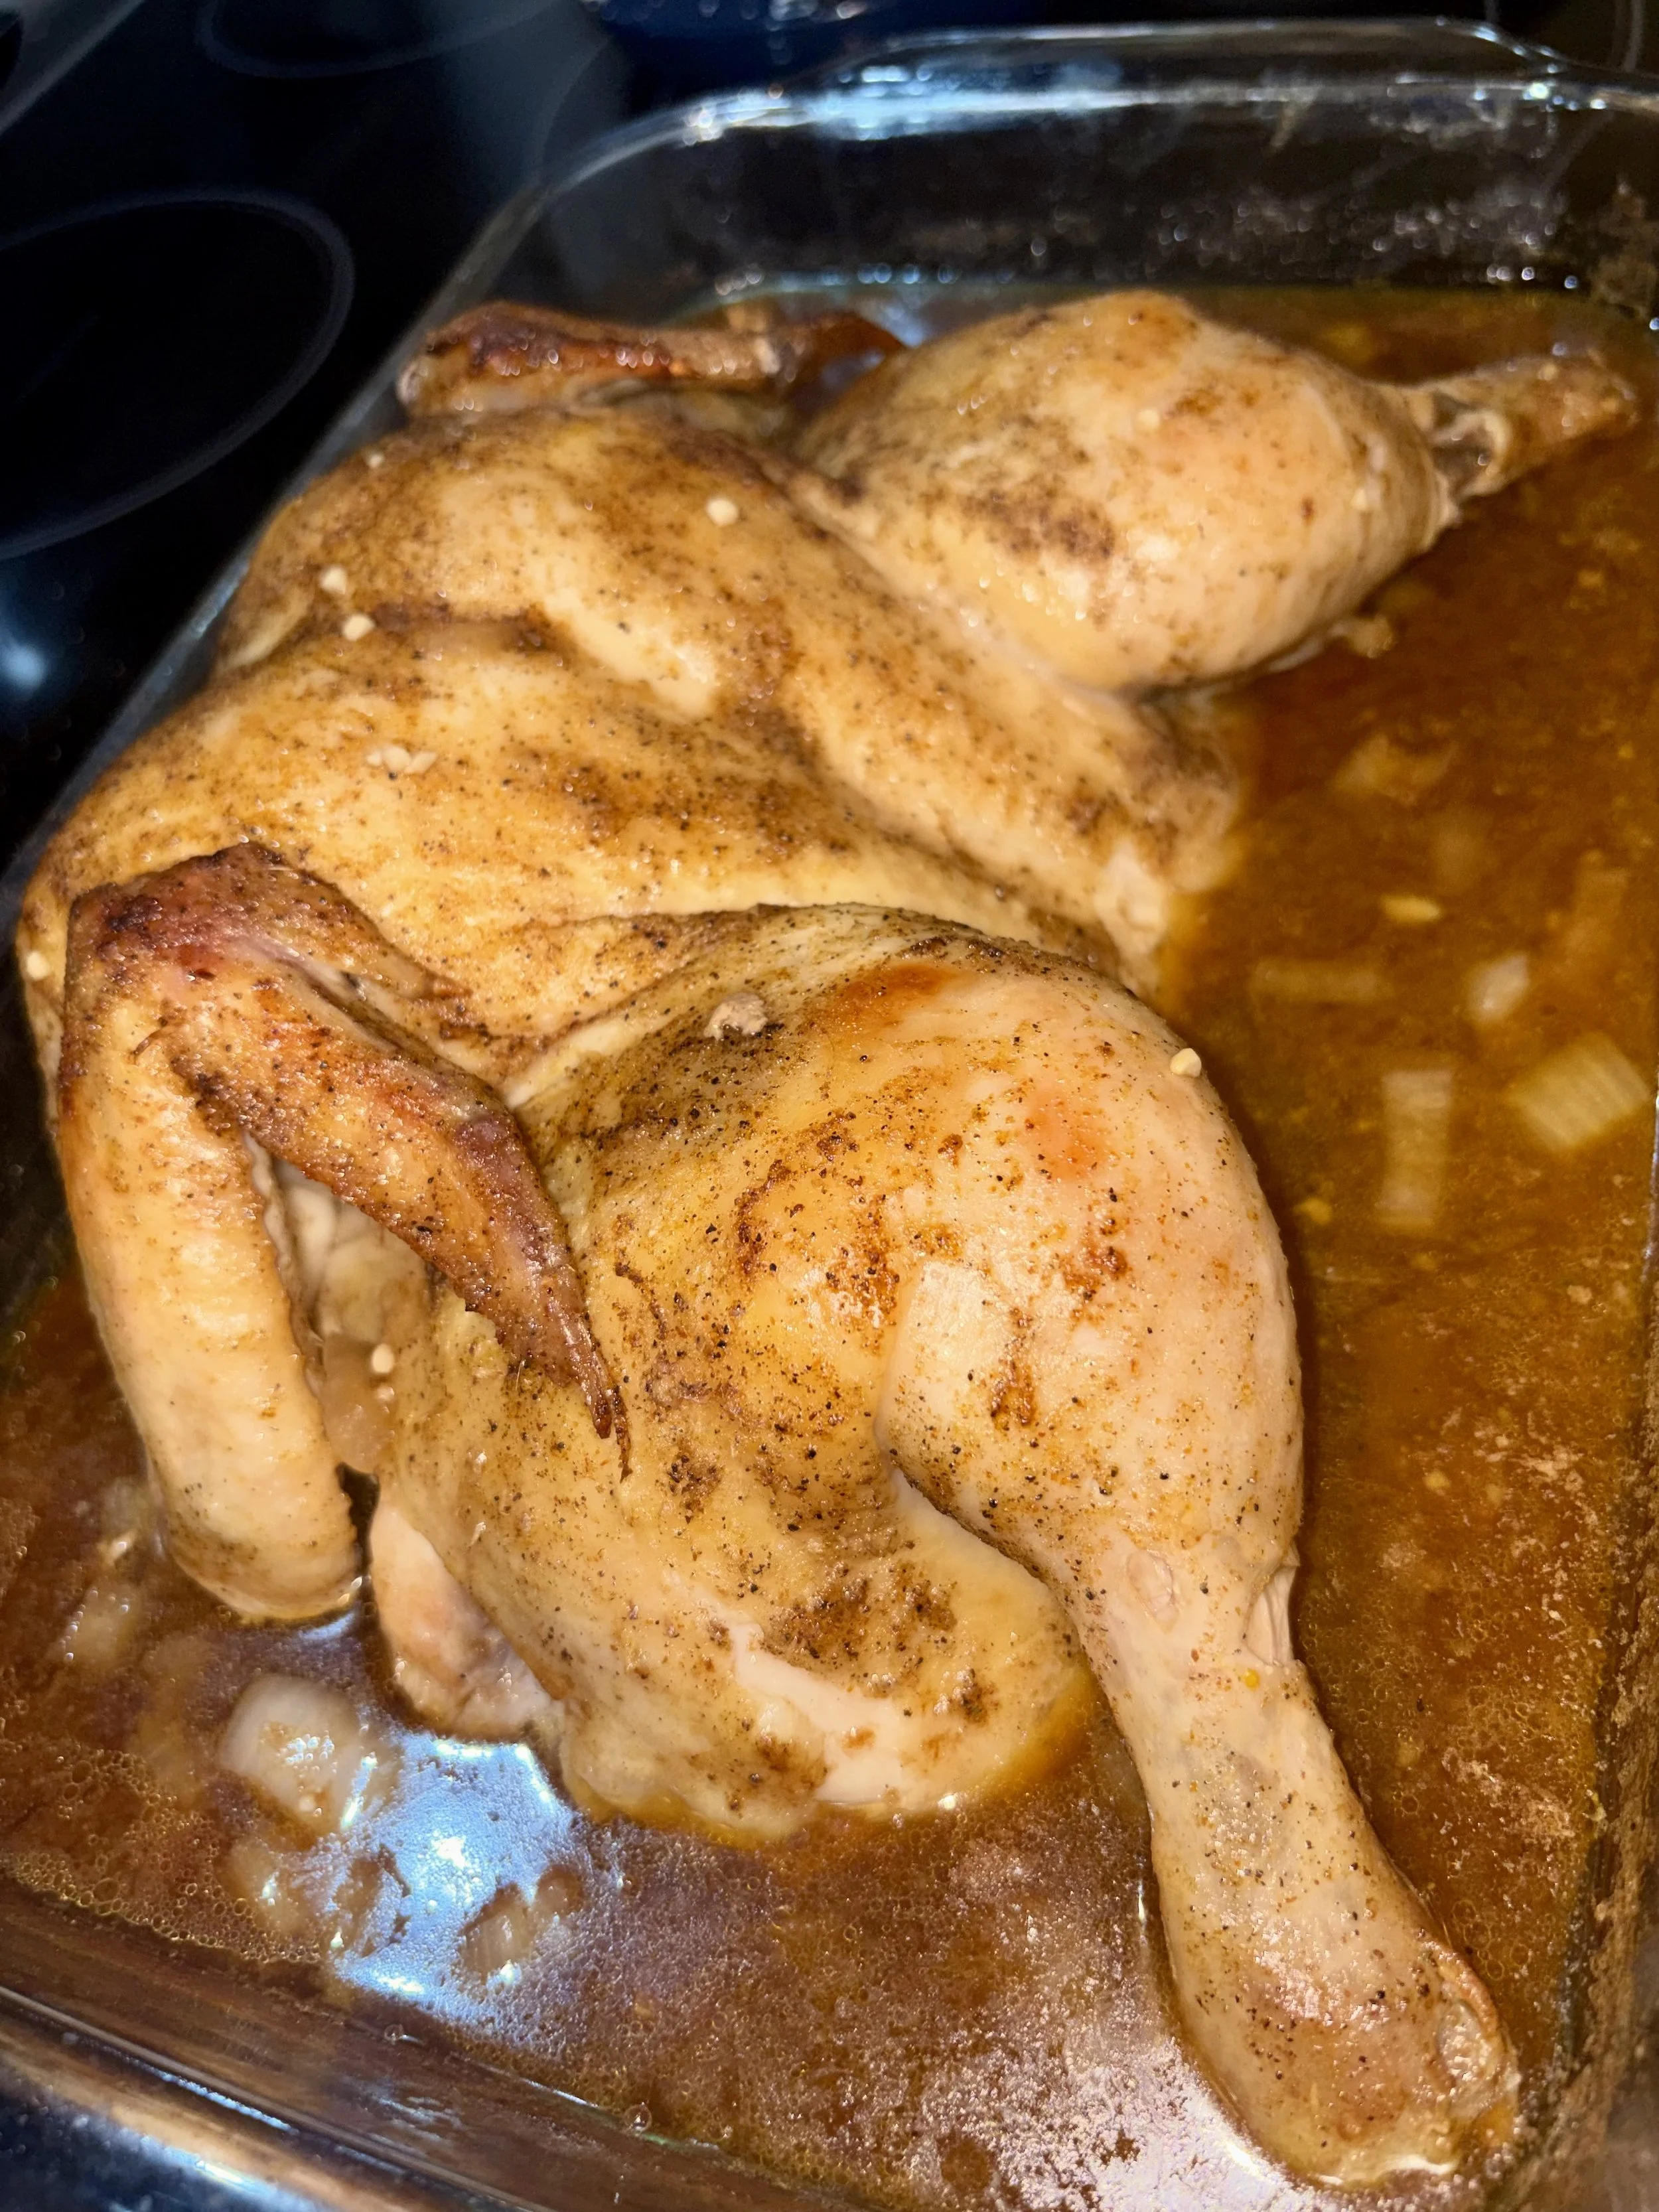
I've got a roaster pan with a rack, but honestly, most days I just lay the chicken sideways in a 9x13 glass pan and let it cook in its own juices. If you want juicy chicken and a tasty gravy, this is the way to go. If you're after crispier skin and don't care about the drippings, use the rack and roaster instead.
Cover the pan with foil and bake at 425°F for about an hour.
Making the Gravy (aka "White Gravy")
Carefully take the chicken out (it's hot!) and uncover it for about 10 minutes to let the skin brown a bit. While it's browning, this is when I build out the gravy right in the drippings — a sprinkle of Tony's, onion powder, garlic powder, black pepper, and salt, plus a small handful of chopped onion and minced garlic for extra flavor.
To thicken it up, whisk together either:
a slurry of 1 tablespoon cornstarch + 3 tablespoons water, or
2 tablespoons Tony's dry roux mixed with water
Stir that into the drippings and let it all come together while the chicken finishes browning.
Check, Rest, and Serve
Once the chicken hits a safe internal temperature (at least 165 degrees), pull it out and let it rest for about 10 minutes before cutting in. That resting time matters — it's what gives you that fall-apart tender, juicy bite every single time.
What to Serve With It
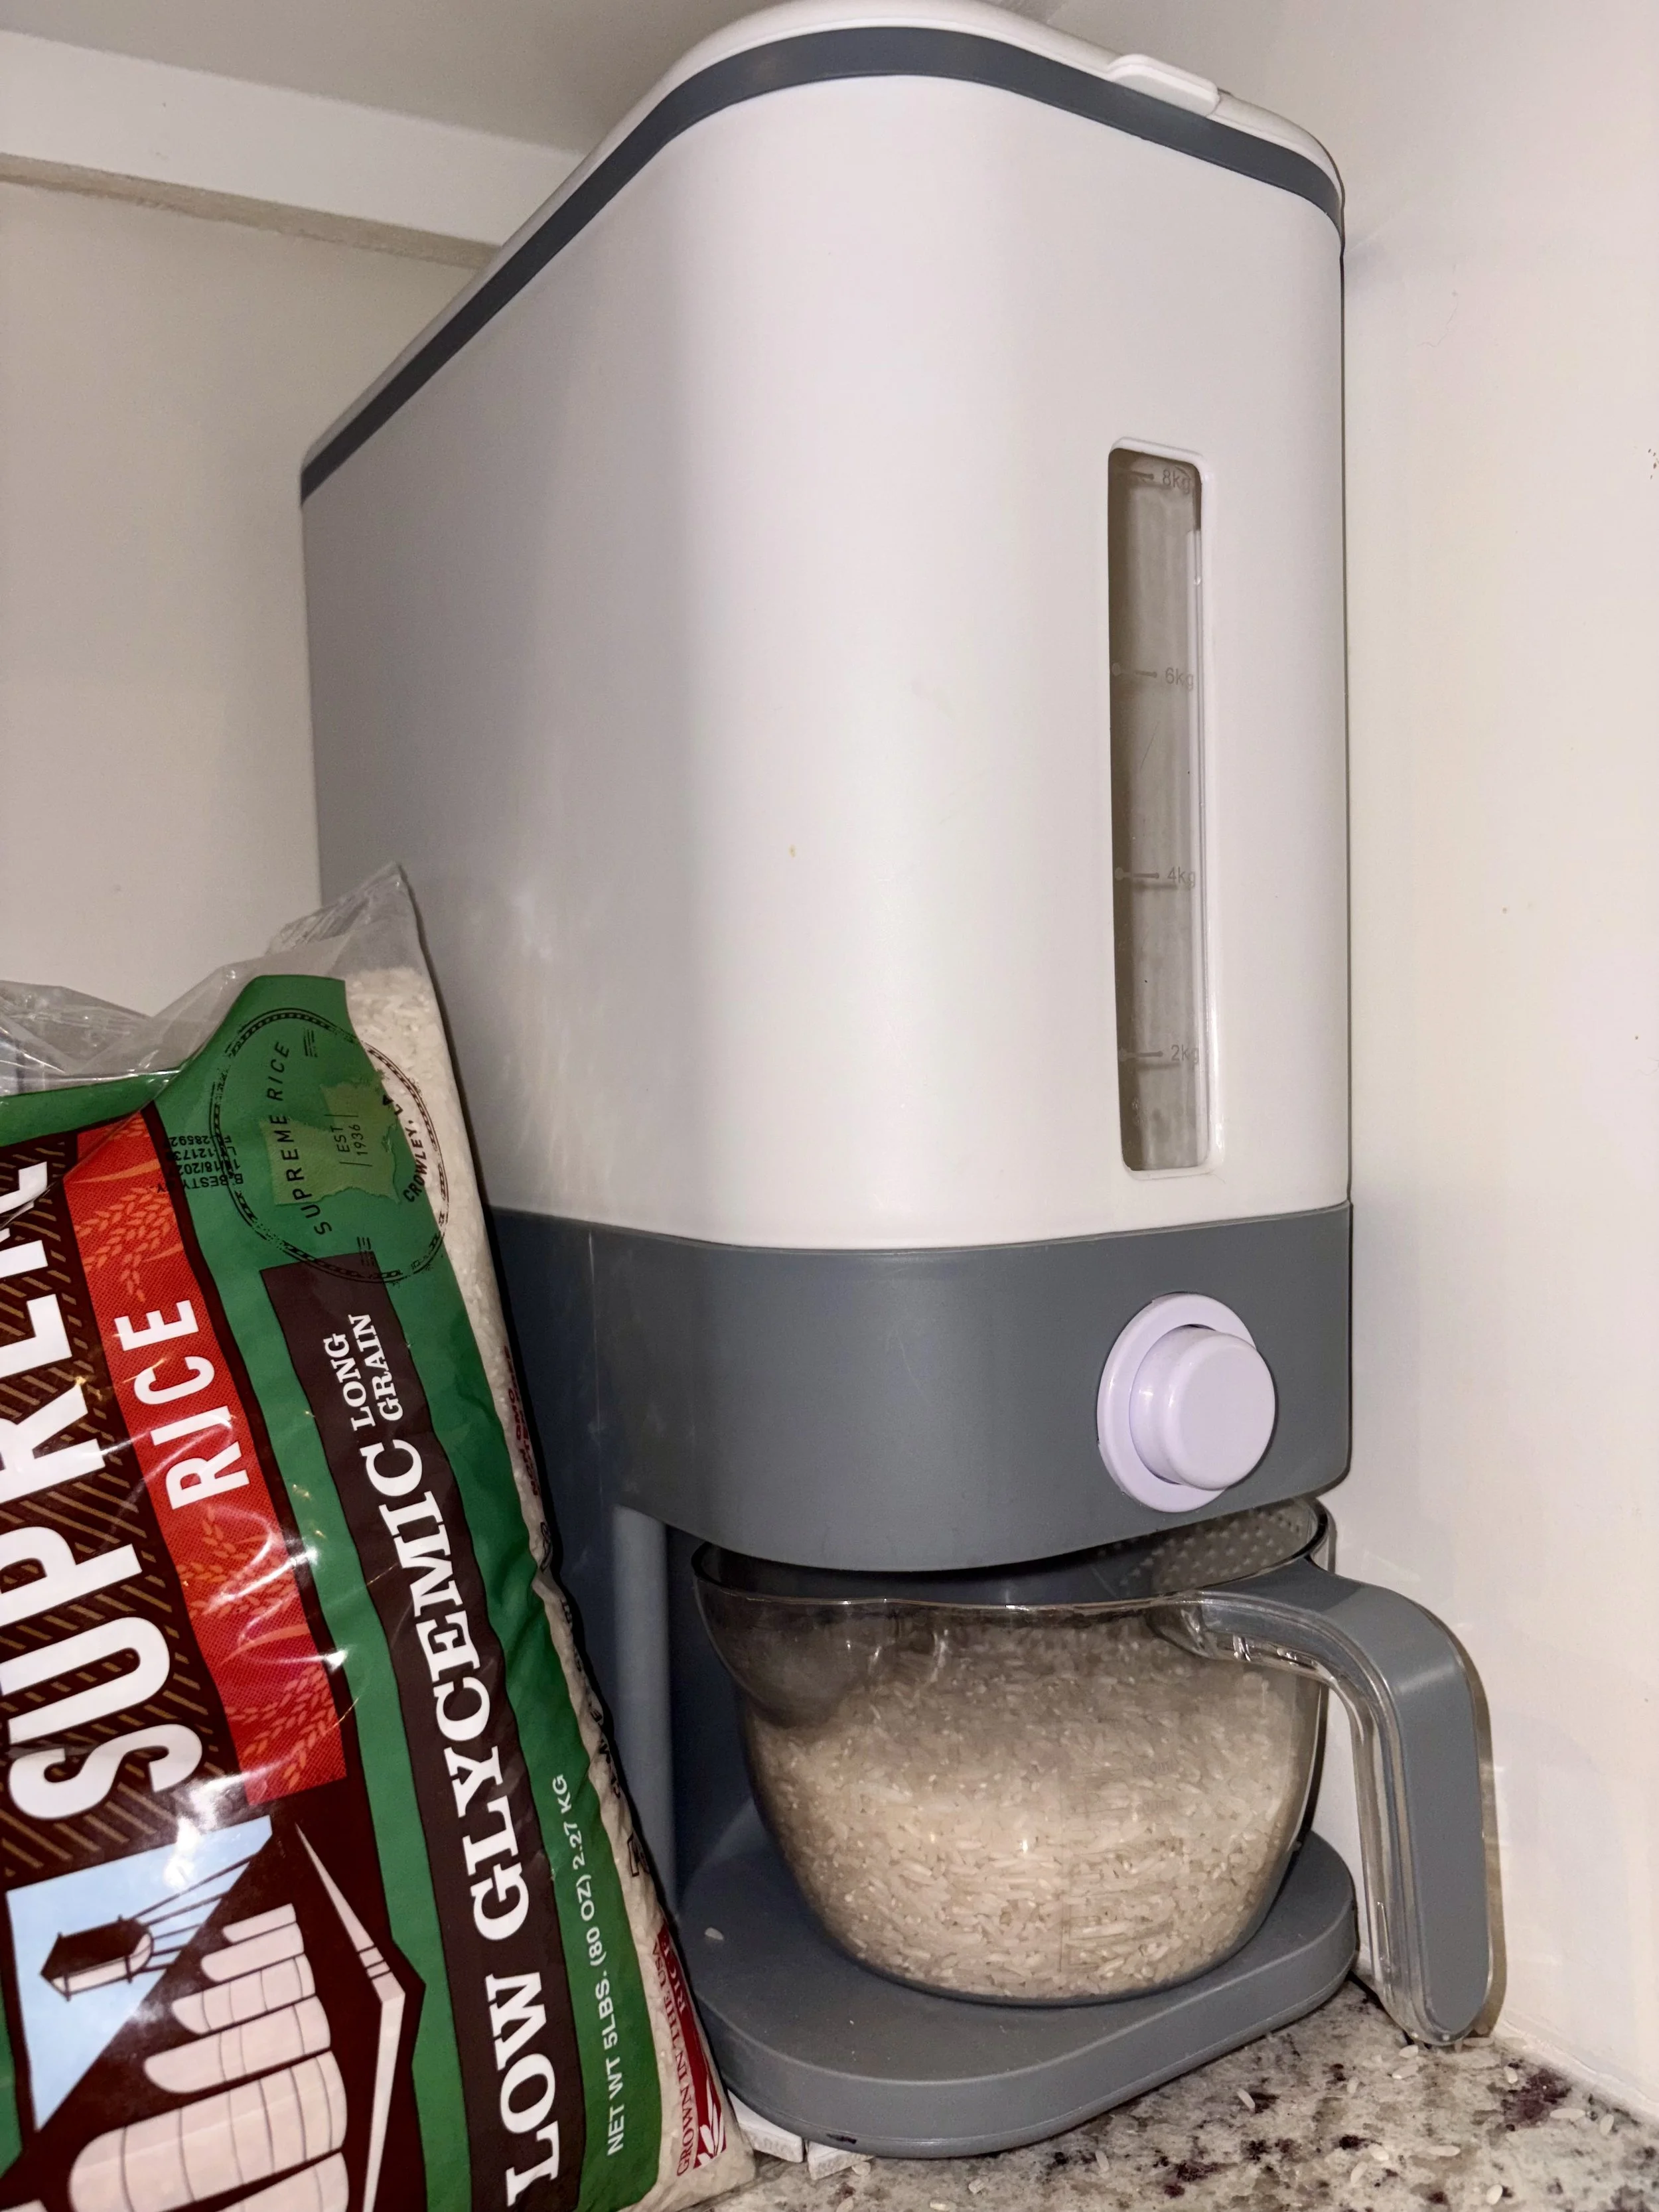
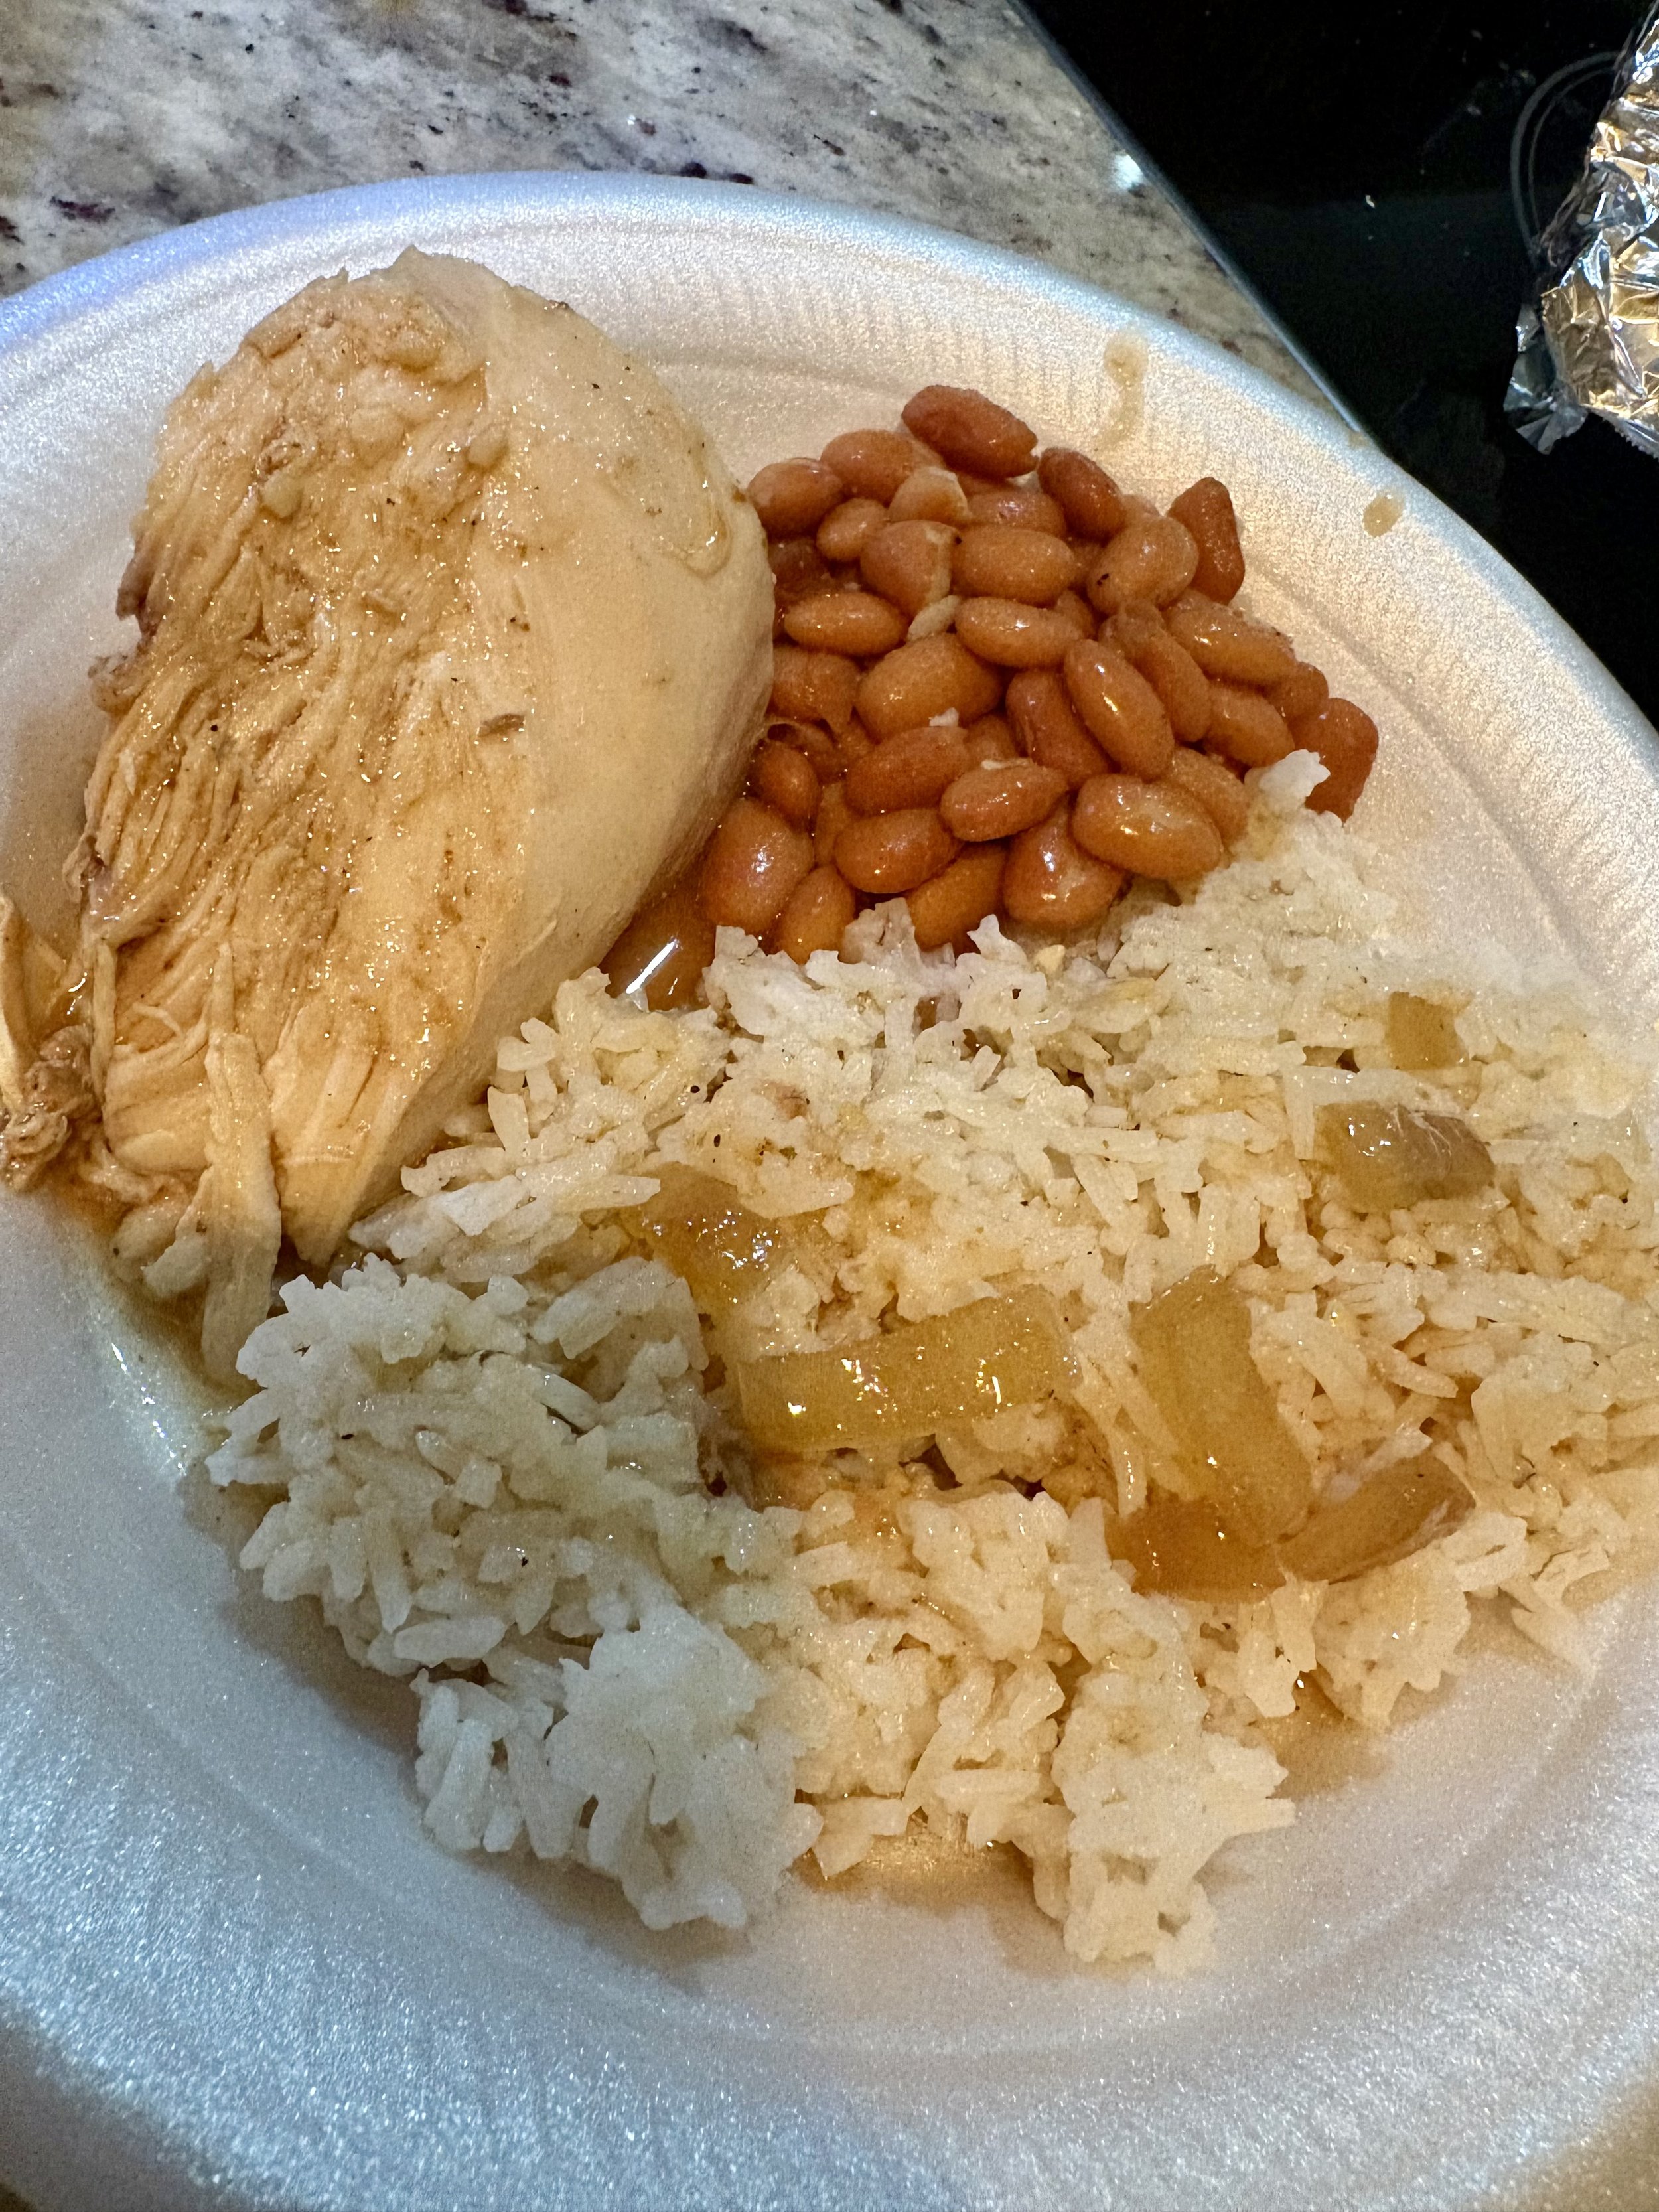
In our house, this chicken almost always gets served over low glycemic white rice (stored in this AMAZING product as pictured) so we can soak up all that pan gravy, alongside veggies or beans. Mashed potatoes, au gratin potatoes, or maque choux corn are all great swaps too — really, whatever side your family loves will work here.
Got Leftovers? Don't Waste That Chicken
If you end up with extra chicken (lucky you!), don't just reheat it the same way twice. Stretch your food and your dollars by turning it into something new with one of these reader favorites:
Any of these will give your leftovers a whole new life.
Want to remember this recipe?
PIN IT to Pinterest - or - Shop Momma's Kitchen Items