
Ham and Cheese Au Gratin Potato Recipe
Technically a side dish. Emotionally? The main character.
Y'all, I'm just going to say it: au gratin potatoes are already one of those dishes that doesn't need a glow up. They're rich, they're cheesy, they're basically comfort food in casserole form. But I gave mine one anyway, because adding ham and a little extra love never hurt anybody, and now this "side dish" walks into every cookout acting like it's the entrée.
This one's perfect for the Fourth of July, a family cookout, a baby shower, a birthday party, or just a random Tuesday at the house when you want something that feels like an event. It travels well, it reheats well, and it disappears fast. Let's get into it.
Start With the Béchamel
Preheat your oven to 350°F.
We're going to start with a classic béchamel — don't let the fancy name scare you, it's just a basic white sauce and it's easier than you think. Melt some butter in a saucepan over medium heat, whisk in an equal amount of flour, and let that cook for a minute or two until it smells a little nutty and loses that raw flour taste. Slowly whisk in your milk a little at a time, stirring constantly so it doesn't get lumpy, and keep going until it thickens up into a smooth, pourable sauce.
Note: we're only making about a quart of cheese sauce for this recipe, so calculate your butter, flour, and milk accordingly — you don't need to make a giant batch.
Now Make It Cheesy
Once your béchamel is smooth, slowly stir in your favorite shredded cheese. I used cheddar, but honestly any cheese that melts well will work here — go with what your family loves.
Cheese tip: skip the bags of pre-shredded cheese that have anti-caking agents like Powdered Cellulose in them. They clump together in the sauce and take forever to melt smoothly. I usually buy a cheap block of cheese and shred it myself, or grab a bag that doesn't have that stuff added — it melts so much better and your sauce will be silky instead of grainy.
Season your cheese sauce with a little Tony's, garlic powder, onion powder, and pepper. I also added some dry chives, but fresh green onions would be amazing here too if you've got them on hand. Once it's seasoned, just leave it on low heat to hang out while you work on everything else.
Get Your Ham and Onions Going
For the ham, I went with store-bought pre-cut cubes because, let's be honest, that's the easy button and I'll take it. But any kind of ham works here, so use whatever you've got— or last night’s leftovers. Give the ham a light sauté in a skillet with a little butter, then set it aside.
Optional step that is, to me, mandatory: julienne a white onion the same way you would for fajita-style strips, and give those a quick sauté too. They add so much flavor and a little sweetness that makes the whole dish better. Set those aside as well.
Prep the Potatoes
Peel your potatoes and slice them thin. The thinner you slice them, the faster they'll cook, so don't rush this step — a sharp knife or a mandoline makes a big difference here.
Time to Layer
This is the fun part. Grab a 9x13 glass baking dish and let's build this thing.
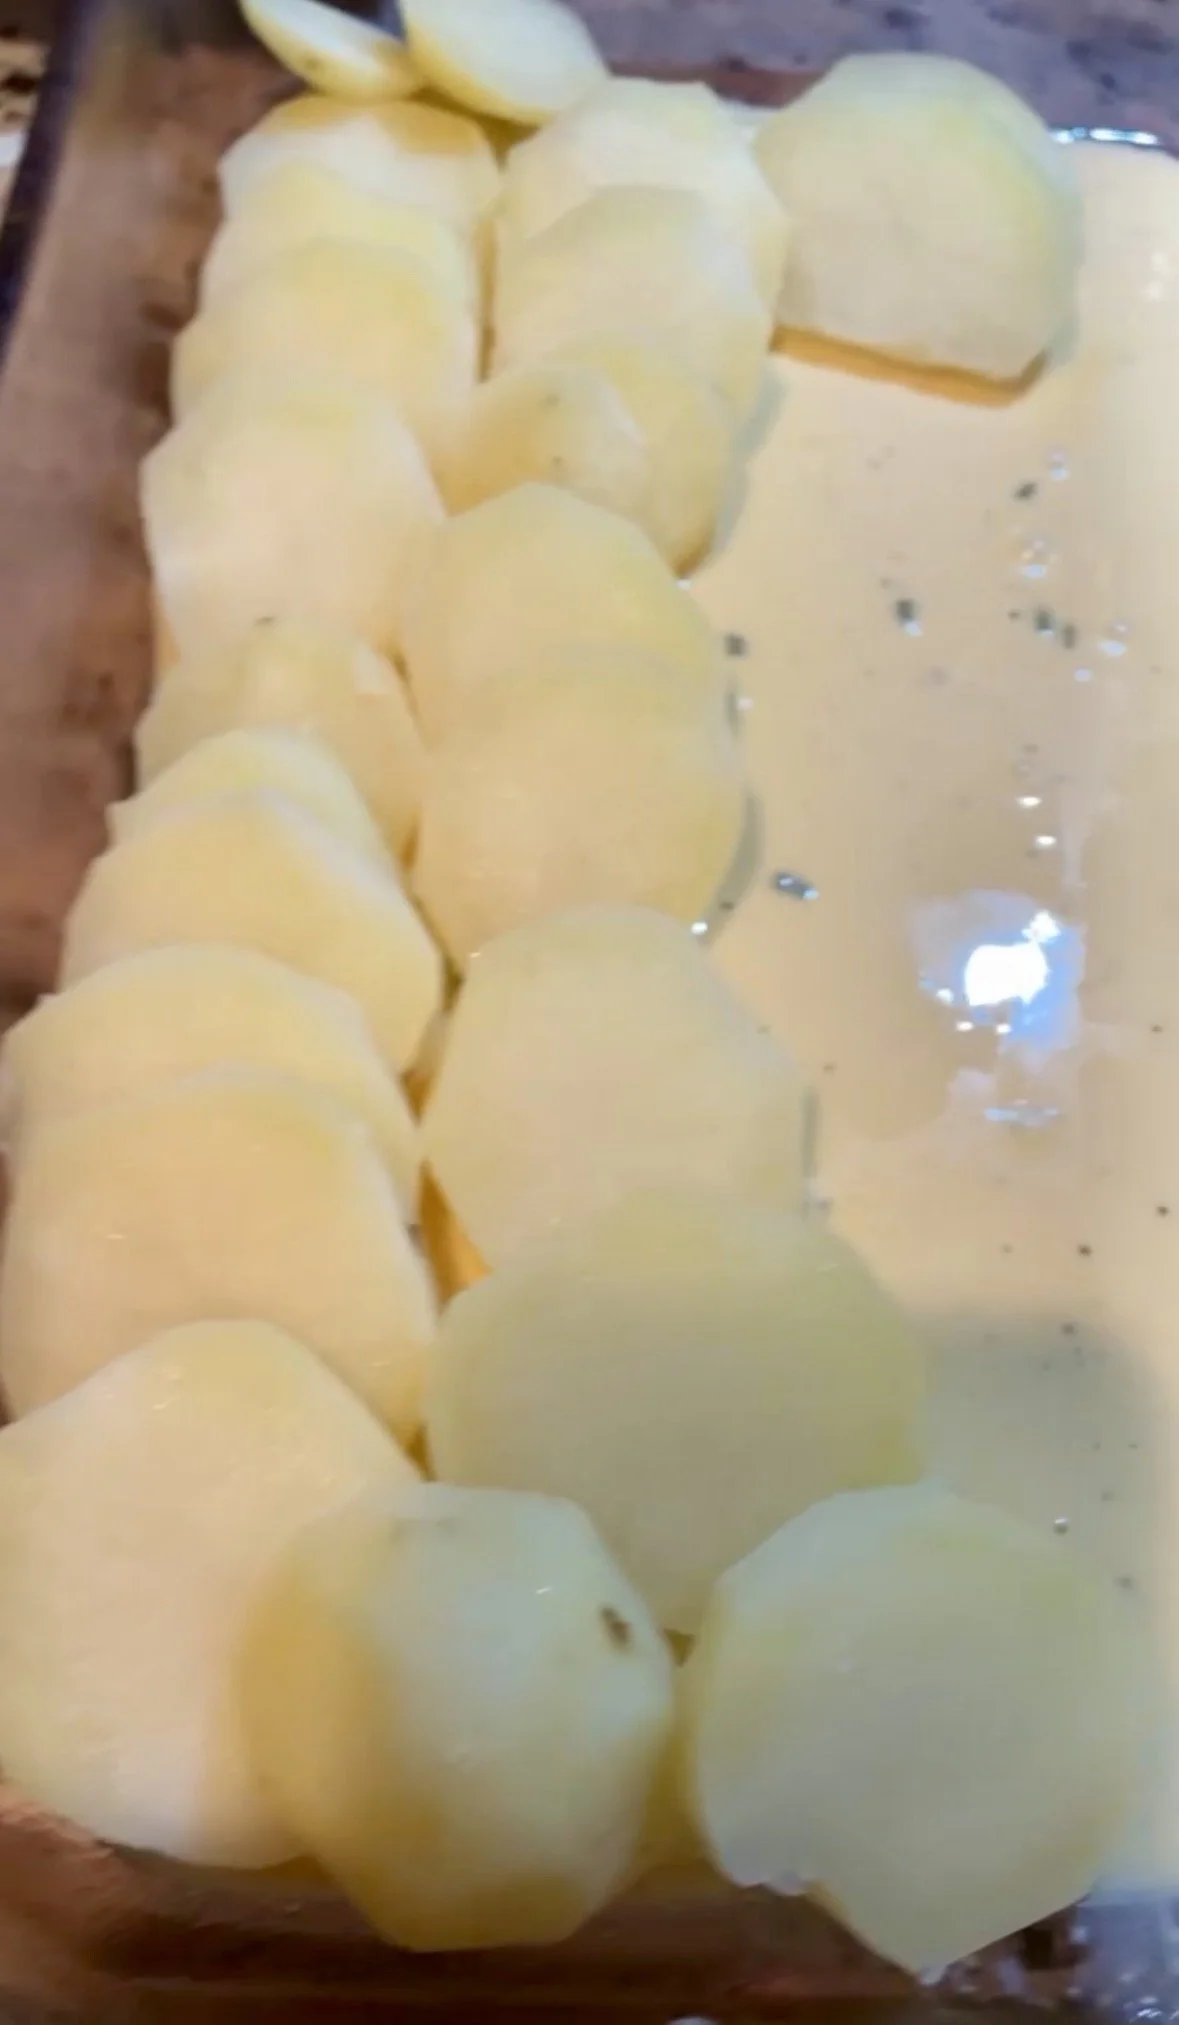
Start by pouring a ladle or two of cheese sauce across the bottom of the dish.
Layer your sliced potatoes across the pan in an even row.
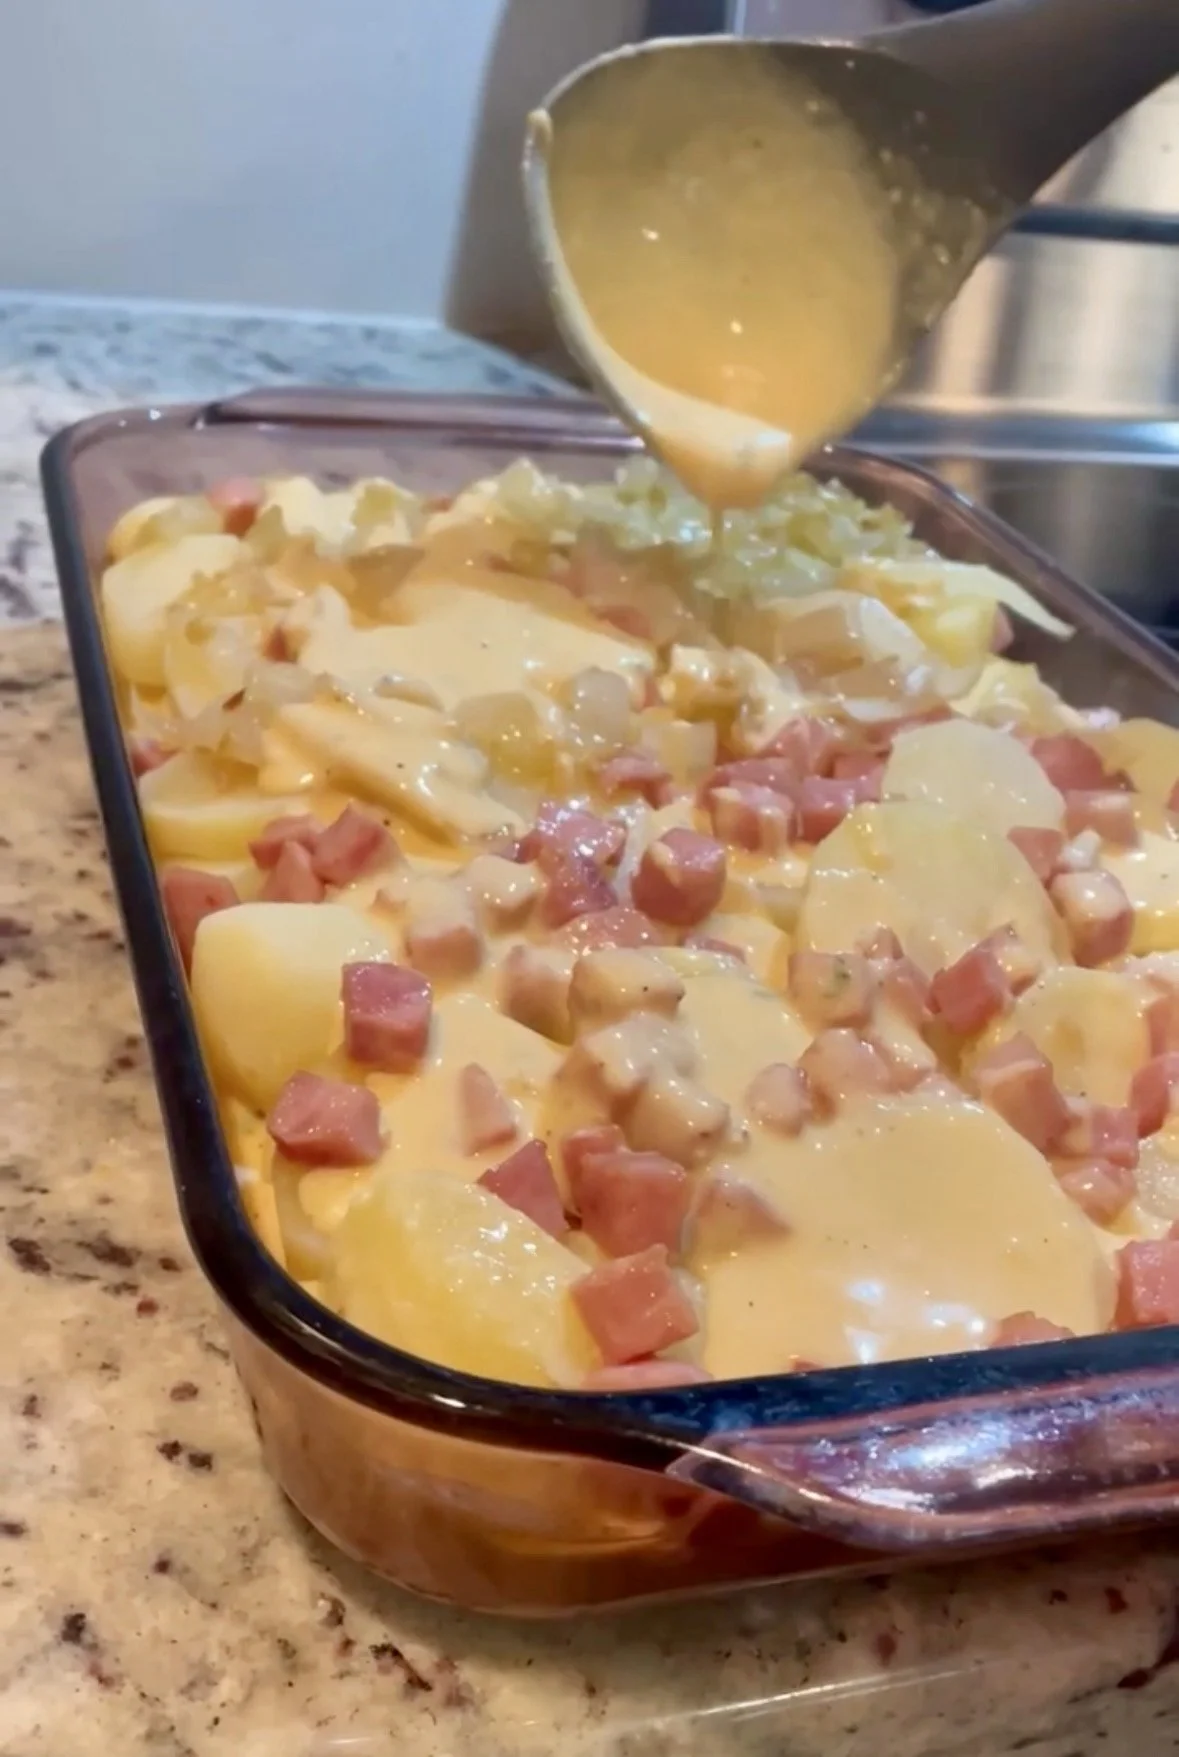
Once that layer is covered, ladle on more cheese sauce, then sprinkle in some of your ham and onions, plus a light sprinkle of shredded cheese.
Repeat these layers until you reach the top of the dish.
For the very top layer, finish with extra sauce, cheese, onions, ham, and — because why not — a few small pads of butter right on top.
Bake It
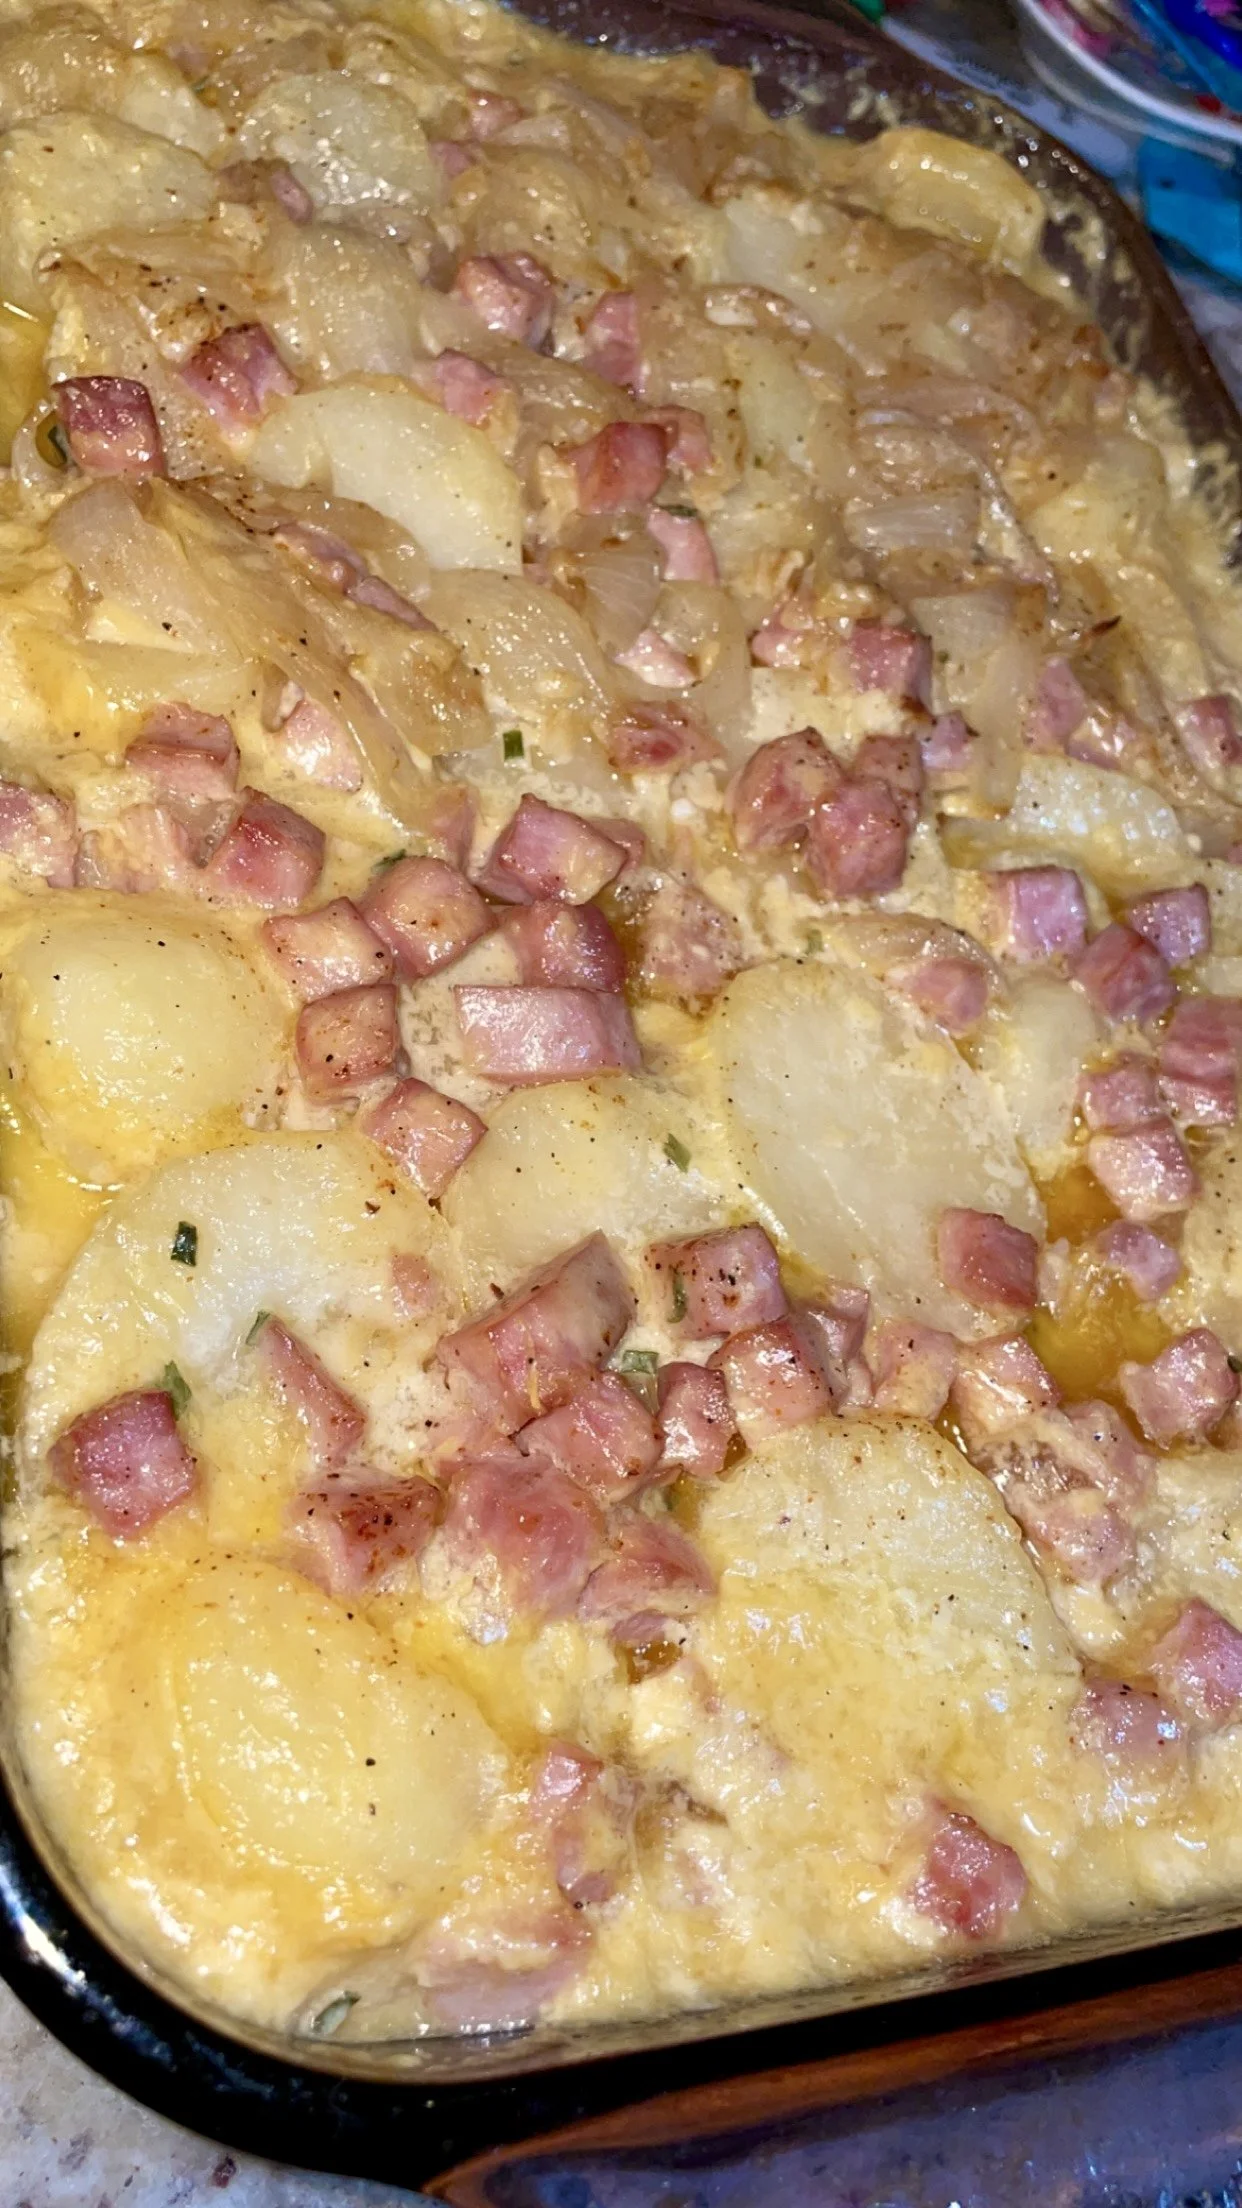
Cover the dish with foil and bake for about an hour. After the hour is up, check your potatoes — if they're soft or almost soft, go ahead and uncover the dish and bake for another 15 to 30 minutes to let the top get bubbly and golden brown.
Cooking time will vary a bit depending on how thin you sliced your potatoes, so just keep an eye on it. You're looking for potatoes that are fully cooked through, cheese that's completely melted, and a top that's golden and bubbly.
And That's It, Momma
Pack it up in your insulated picnic basket if you're hitting the road, store it in the fridge or freezer if you're saving it for later, or just grab a spoon and dig in right there at the counter — you earned it.
Want to remember this recipe?
PIN IT to Pinterest — or —Shop Momma's Kitchen Items